Multer is a library for handling file upload with form/multipart-formdata.
Step
- Installing Package
- Multer fileUpload and file type validation
- Initialize upload variable
- Insert image path in database
- Retrieve Uploaded Image
Installing Package
npm install multer
npm install path
require both install packages at top of your code file.
const multer = require('multer')
const path = require('path')
2. Multer File Upload and file type validation
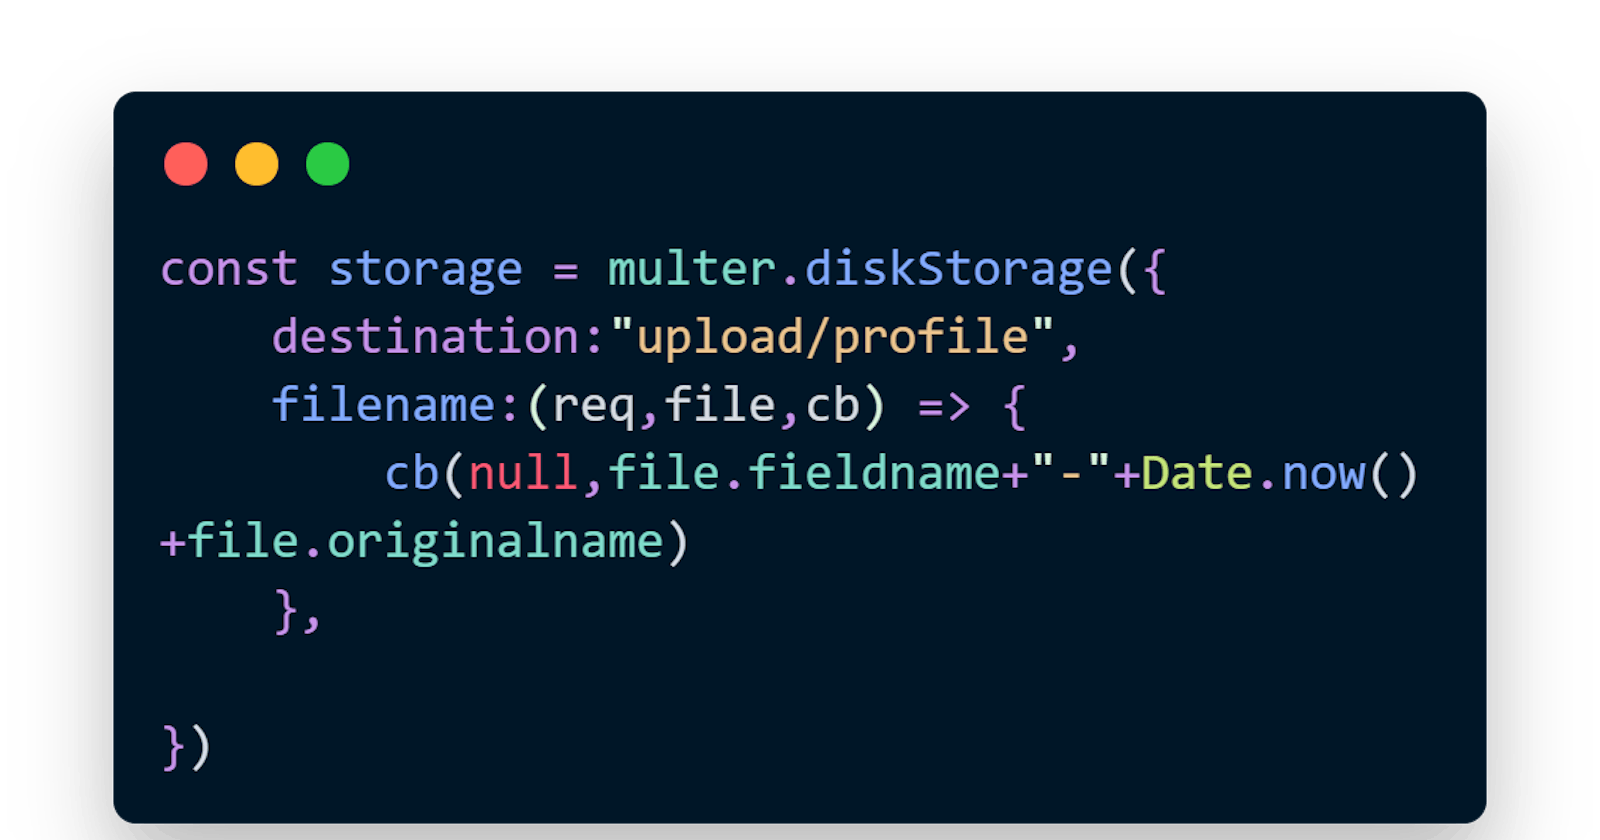
let's create a function which will store image. multer disk storage stores the file in the disk. multer will remove the file extension so that we can add the file extension with file.orginalname.
Date.now() to give a unique name for each file.
file.fieldname is a value that we specify in our form value.
Note: If file.orginalname is not specified multer will assign a random file value for each file without extension.
const storage = multer.diskStorage({
     Destination:"upload/profile",
     Filename(req,fiel,cb)=>{
     cb(null,file.fieldname+"-"+Date.now()+file.originalname)
}
})
Specify the directory in which you want to store your files. No need to manually create your directory manually multer will take care of that for you.
now let's add some file validation so that we can restrict users to only upload the filetype we defined.
const fileFilter =(req,file,callback)=>{
let ext = apth.extname(file.originalname)
if(ext !=='png' && ext !=='jpg' && ext !=='jpeg'){
return callback(new Error('Only png, ext and jpeg fileType are allowed))
}
Callback(null,true)
}
3. Initialize Upload variable
let upload = multer({
storage:storage,
fileFilter:fileFilter
})
For file upload
"module.exports.imageName = upload.single("image")"
4. Insert ImagePath in DataBase
Now let's insert Image Path and Image Name in the Database. We will use the above multer upload function as middleware for our function. Multer provides an API through which we can retrieve the details of the file we have uploaded. Some of them are; file. filename will give us upload filename, mimetype will give us file extension.
module.exports.profilePic = async(req,res)=>{
    let  insertObject ={};
    console.log(req.file)
     insertObject.imageName = req.file.filename;
    insertObject.type = req.file.mimetype;
    insertObject.path = req.file.path
    insertObject.personId = req.params.personId;
     console.log("this is inside function",insertObject)
    await knex("tbl_profile").insert(insertObject).then((doc)=>{
        res.json({status:"success",message:"success"});
    }).catch((err)=>{
        console.log("THis is err",err)
        res.json({status:"error",message:"error"})
    })
}
create a router for inserting an image and use the image name function as middleware
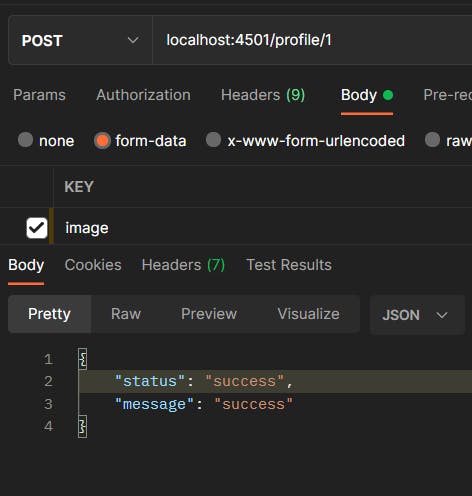
router.post("/profile/:personId",imageName,profilePic)
test image upload in postman
 5. Reterive Image
As the image has been added now let's retrieve the image by person Id. For that, we need to first select the image path for a given personId and then join it with a path to retrieve the image.
module.exports.pic = async(req,res)=>{
    const personId = req.params.personId;
    await knex("tbl_profile").select('path').where('personId',personId).then((doc)=>{
  let filePath = doc[0]
  let  imageUrl = filePath.path
  const dirname = path.resolve();
  const fileUrl = path.join(dirname,imageUrl);
        res.sendFile(fileUrl)
    }).catch((err)=>{
        console.log("This is an error",err)
        res.json({status:"error",message:"error reterving messsage"})
    })
}
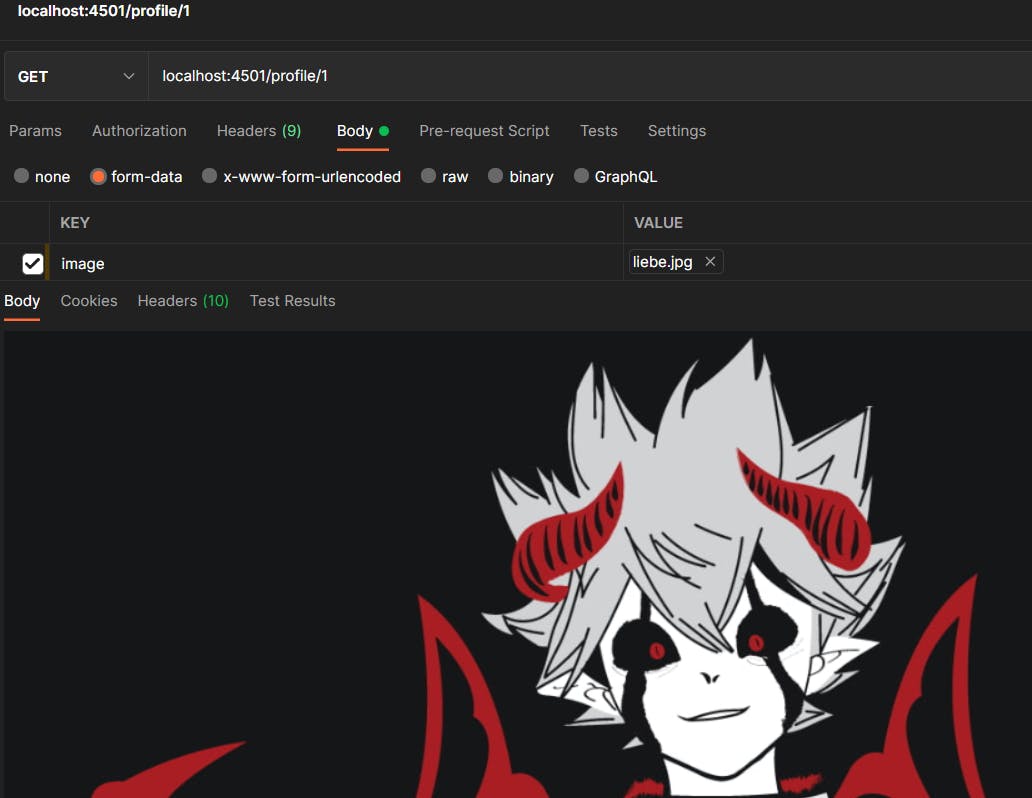
router.get("/profile/:personId",pic)
Preview Image Using Postman

