Login and managing authentication is one of the keys to every application for authentication and security. JsonWebToken allows verifying a user in a secure away.
Steps
- Install Package
- Register User
- Login User and Generate JsonWebToken
- Verifying Token
Step 1: Install-Package
npm install bcrypt
npm install jsonwebtoken
bcrypt will be used to hash the password oneway. JSON Web Token will be used to create tokens and to verify the created token.
Step 2: Register User
module.exports.register = async(req,res)=>{
 let password = req.body.password;
let saltRandom = Math.floor(Math.random()*10)
let salt = bcrypt.genSaltSync(saltRandom)
bcrypt.hash(password,salt,function(err,hash){
if(err){
 res.json({message:"Error while hashing"})
}
let insertObject ={};
insertObject.name = req.body.name;
insertObject.email = req.body.email;
insertObject.salt = salt;
insertObject.password =hash;

knex("tbl_user").insert(insertObject).then((doc)=>{
 res.json({status:"success",message:"success"})
}).catch((err)=>{
 res.json({status:"erorr",message:"error"})
})
})
}
The random salt number is generated using math floor and salt is bcrypted and bcrypt.hash function is used to hash the password. Bcrypt hash the password in one way, hash value can`t be reversed to the original value but can be compared. To prevent from a rainbow table we are using random salt values to make it more difficult for hackers to get the hash value.
Step 4: Login User
Select the password hash and compare it with the password user field while login. And if the has value match general token using JSON web token. Additional Information can be sent in payLoad such as userId.
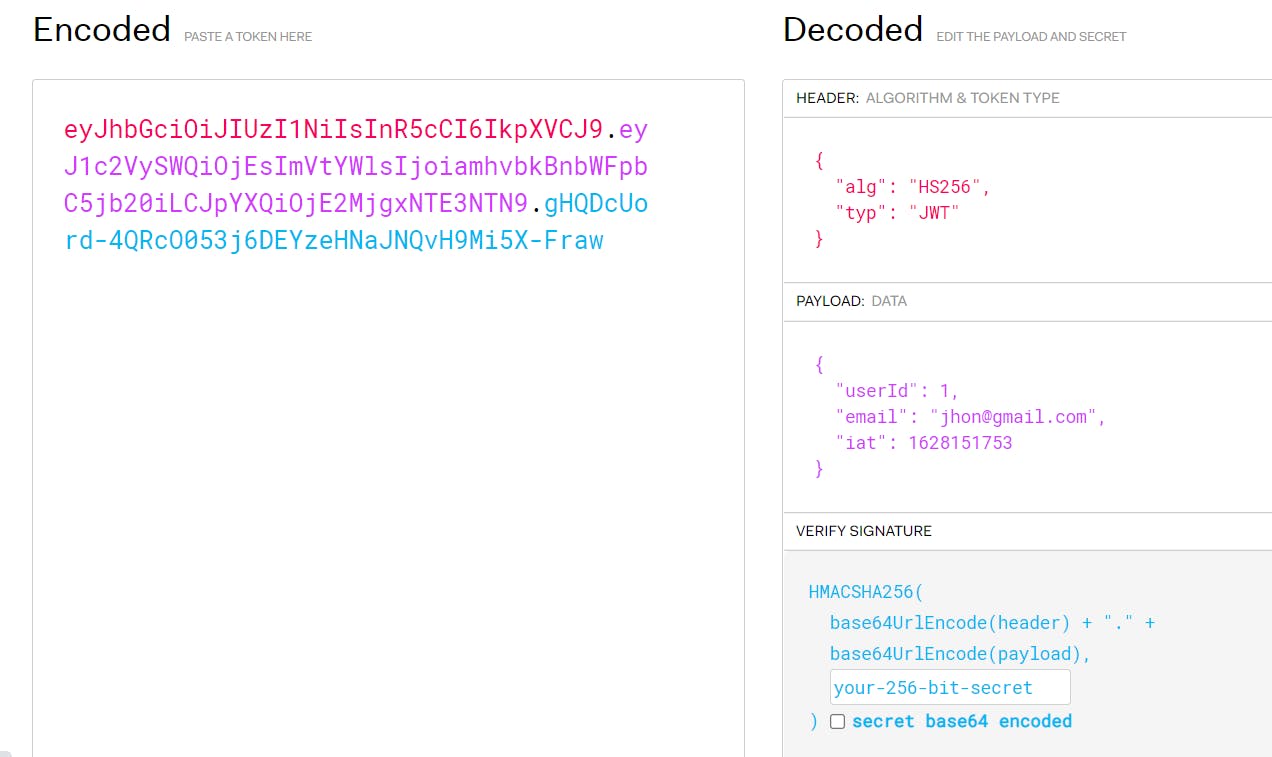
JsonWeb Token contains 3 parts:
=> Header
it contains an algorithm used to sign in the token and token type.
=>PayLoad
In the payLoad part of the token additional data can be added as needed for further use.
=>Signature
encoded header, encoded payload, encoded secret key given by user and algorithm is used to sign the token.
Using all three structures it generates a base64-URL string separated by dots. This is what jwt token look like when decoded:

module.exports.login= async(req,res)=>{
    let email = req.body.email;
    let password = req.body.password;
    await knex("tbl_user").select('*').where('email',email).then((doc)=>{
        bcrypt.compare(password,doc[0].password).then((isMatch)=>{
            if(!isMatch){
                let err = new Error("Email Id or password does not exist");
                err.status =404;
                return next(err);
            }else
            {
                let payLoad = {
                        userId:doc[0].userId,
                        email:doc[0].email
                }
                jwt.sign(payLoad,"hashNode",(err,jwtToken) => {
                    res.json({
                        status:"200",
                         token:jwtToken
                    })
                })
        }
        })
    }).catch((err)=>{
            res.json({status:"error",message:"error"})
    })

}
Step 5: Verifying Token
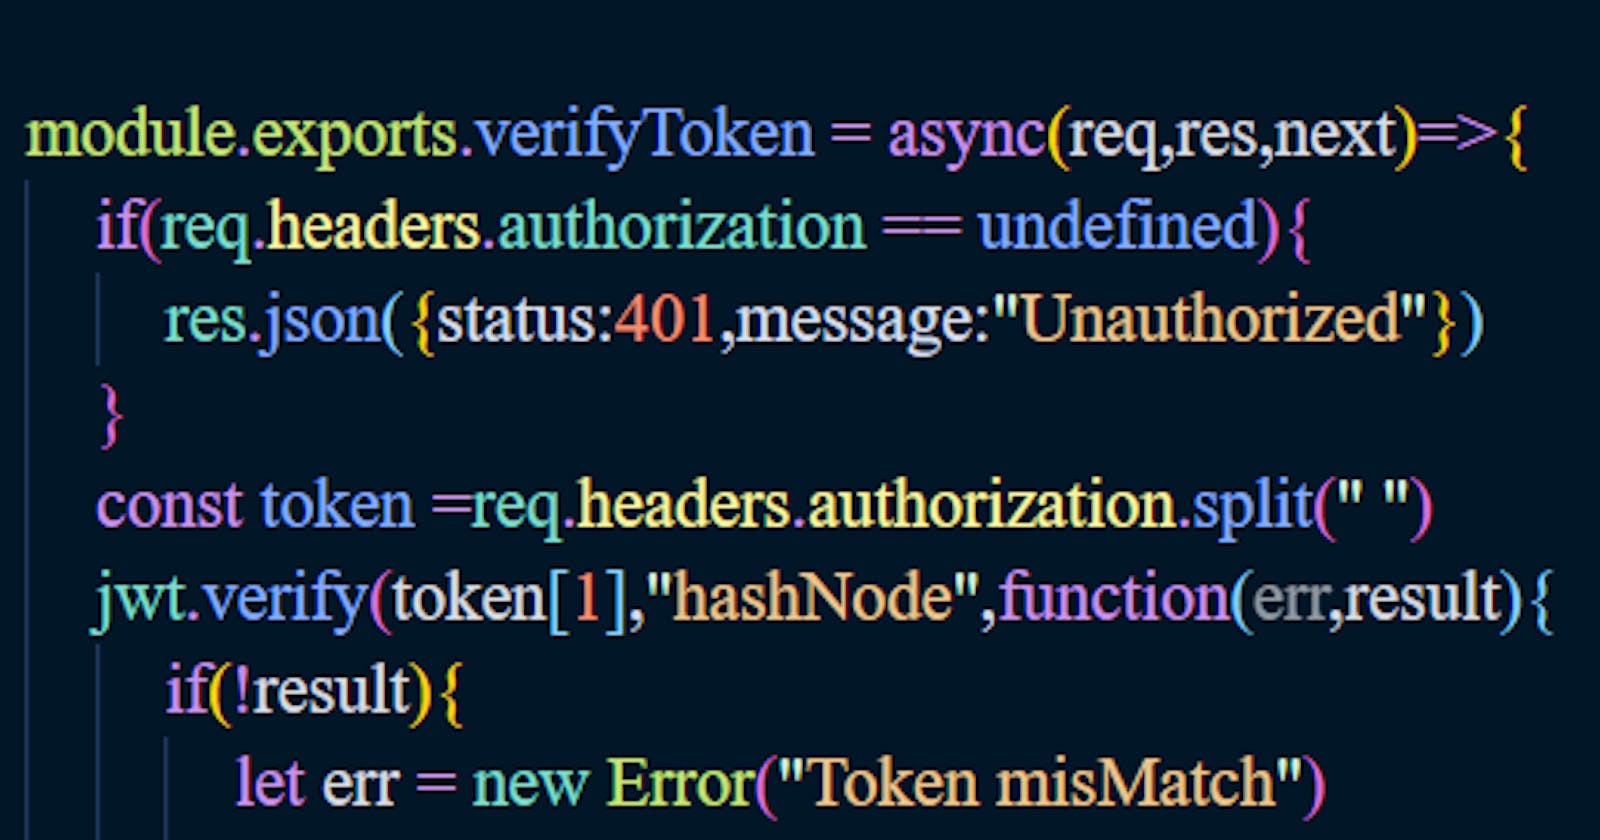
Spilt the to seprate Bearere form token. And verify token with JSON web token verify and with the secret key used to create token and if the token match the call the next();
let jwt = require('jsonwebtoken')

module.exports.verifyToken = async(req,res,next)=>{
    if(req.headers.authorization == undefined){
        res.json({status:401,message:"Unauthorized"})
    }
    const token =req.headers.authorization.split(" ")
    jwt.verify(token[1],"hashNode",function(err,result){
        if(!result){
            let err = new Error("Token misMatch")
            err.status =401;
            return next(err)
        }else{
            req.userId = result.userId;
            req.email = result.email;
            next();

        }
    })
}
Create an API that only users whose token is verified can access. Include above middleware in routes.
module.exports.viewDetails = async(req,res) => {
    let userId = req.userId
    await knex('tbl_user').select('*').where('userId',userId).then((doc)=>{
        res.json({status:"success",message:doc})
    }).catch((err)=>{
        res.json({status:"err",message:"err"})

    })
}
Routes
router.post('/registerUser',register)
router.post('/loginUser',login)

router.get('/detail',verifyToken,viewDetails)
